I saw a Christmas tree in someones window today...ludicrously early I feel, still, I am sitting here designing decorations and eating marzipan. The festive season is rapidly approaching and the red, green, white and brown felt is out and waiting along with the sparkly ribbons and red beads. I will be making sets of 4 or 5 (I haven't decided yet), a candy cane, bow, holly leaves and Christmas pud. All to come in the next few days!
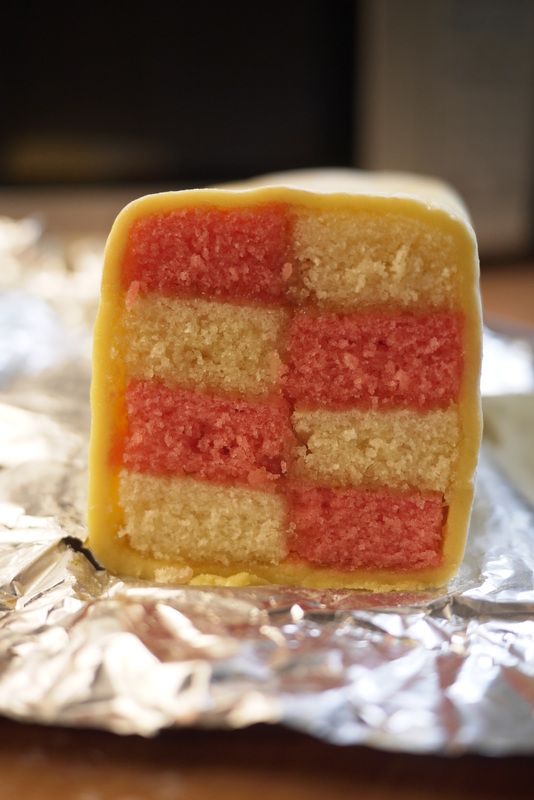
Battenburg or "window cake" as it is affectionately known has always been a favorite of mine, mostly because of the lovely marzipan icing which I must admit I would happily eat all day every day.
This was my first attempt and I have to say that apart from covering myself, the kitchen and pretty much every implement in my utensil tin in jam and pink crumbs, it was pretty easy!
Start with a basic cake recipe (I use a wheat free one), split it in 2 and add a drop of red food colouring to one half. Bake separately in flat tins and then leave to cool completely.
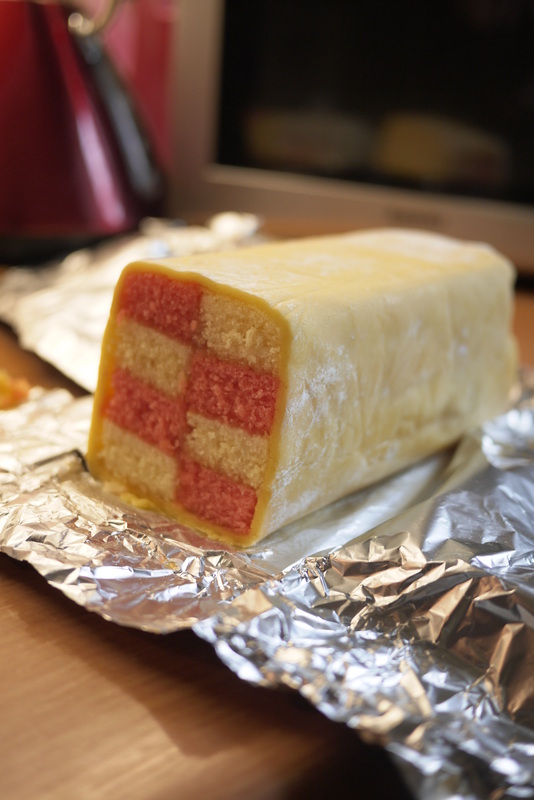
Cut the cake slabs into strips then on a piece of baking paper start layering them up using apricot jam (or your superb home made plum jam!) as cement. Once you have your chessboard tower wrap it in the baking paper and leave it aside to weld together. I used the kitchen wall, a knife block and the box of icing sugar to create a vice like structure to make sure it kept its shape which was perhaps slight overkill but it worked a treat.
Rolling out the marzipan is just the same as rolling out pastry but use icing sugar instead of flour to stop it sticking to the side or your rolling pin. Roll it out to the desired thickness and size and then spread more jammyness on top. Carefully place your unwrapped cake onto the marzipan and cut the ends to size. Wrap the marzipan round and turn the whole thing over so the seam is at the bottom. Tightly wrap it up in foil and leave for an hour or so to let it all stick together.
Unwrap carefully and gently cut with a sharp knife (I used a bread knife and a gentle sawing action) to get that perfectly patterned slice.
Yum!
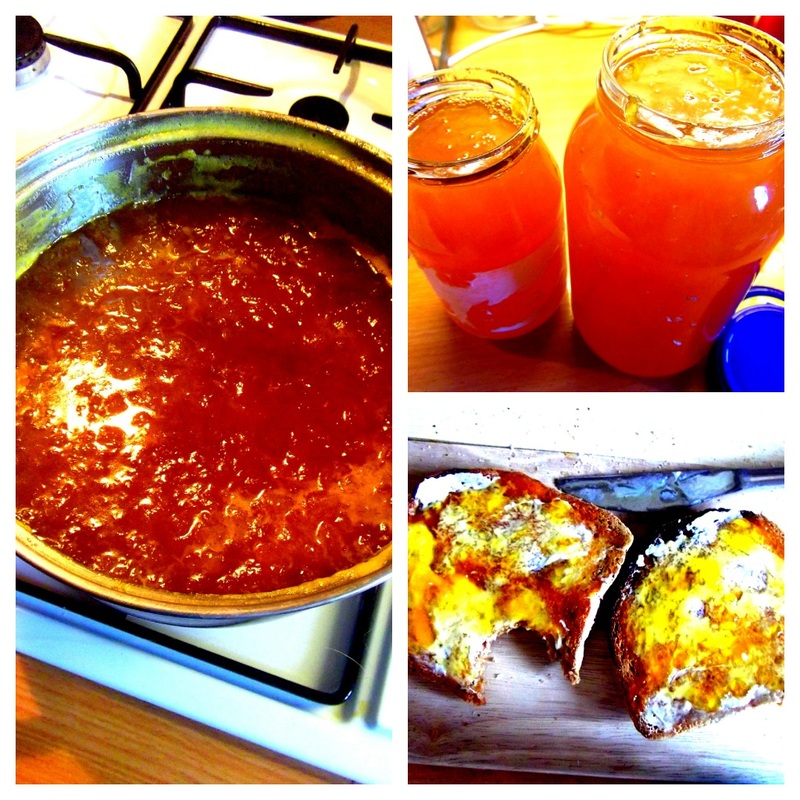
Making jam is so much easier than I thought it would be!
You will need:
1kg of yellow plums. You can use your favorite fruit
(eg. strawberries, blackcurrants, blackberries etc)
1kg jam sugar
The juice of 1/2 a lemon
Method:
Take the skin off and the stone out of the fruit, put in a heavy bottomed saucepan. Soften the fruit over a medium heat then add the sugar and lemon juice. Bring to the boil and keep stirring, put a teaspoon into the mixture and pull it out again, set it aside to cool, push the mixture up the spoon and if it wrinkles then the jam is done. Leave it to cool and then put into clean jars.


 RSS Feed